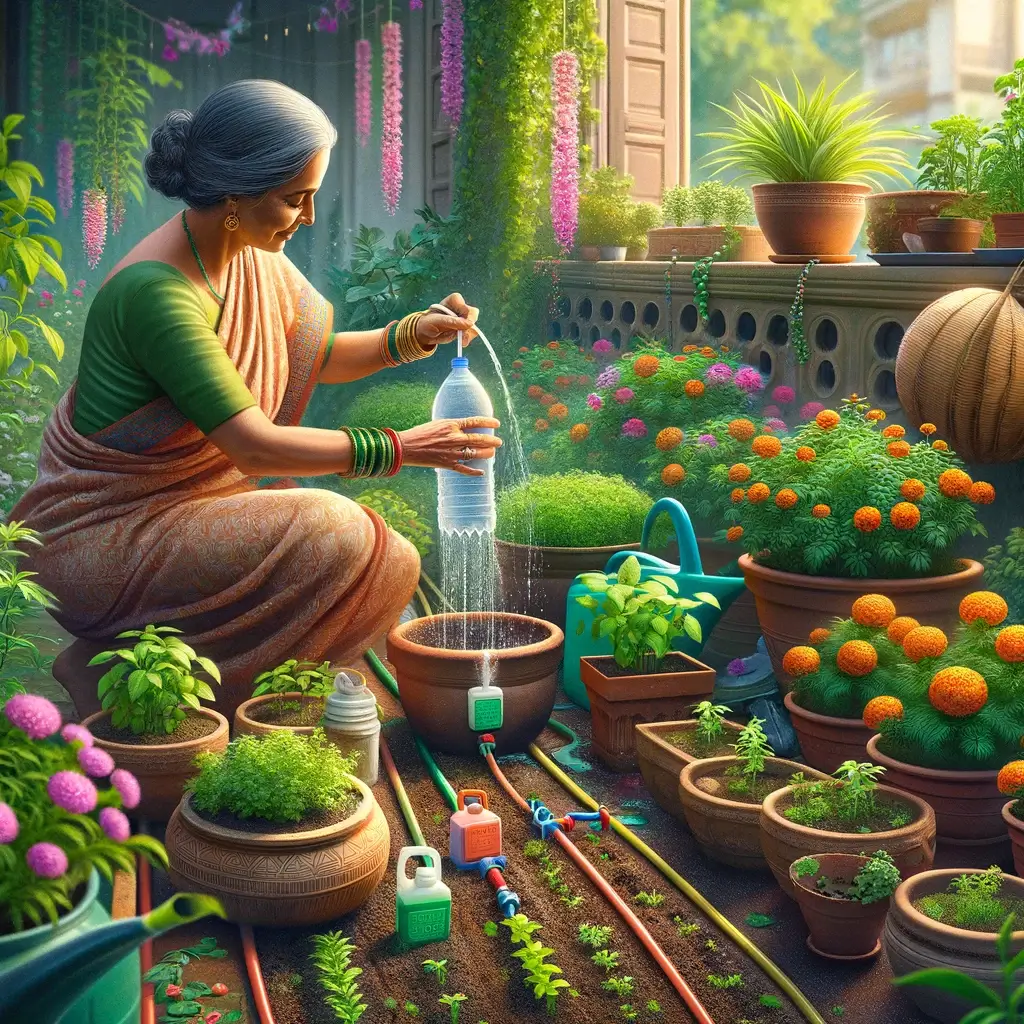
Home gardening can feel like a refreshing routine, yet it might also seem a bit overwhelming when it comes to monitoring them or being unable to provide the necessary care while you’re away. I’m sure you experience the same jitters when you have to leave your little leafy babies for a vacation. Here we are going to know more about three east DIY methods to water the plants in your home garden.
Whether it’s watering them or keeping pests at bay, both tasks are equally important to their care. Therefore, it is very important for us to think of modern ways to address these problems, ensuring the same amount of love and care even when not around.
3 Easy DIY Techniques for Water Plants
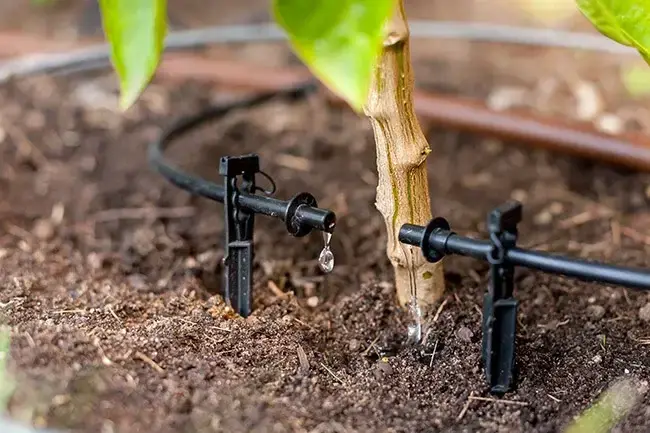
1. Bottle drippers and Drip irrigation
Have you tried turning those old, used bottles into water drippers for your garden? Or maybe you’ve installed a drip irrigation system for your plants? Filling them with water before you leave home ensures your plants stay watered, keeping the soil and plants happy and hydrated.
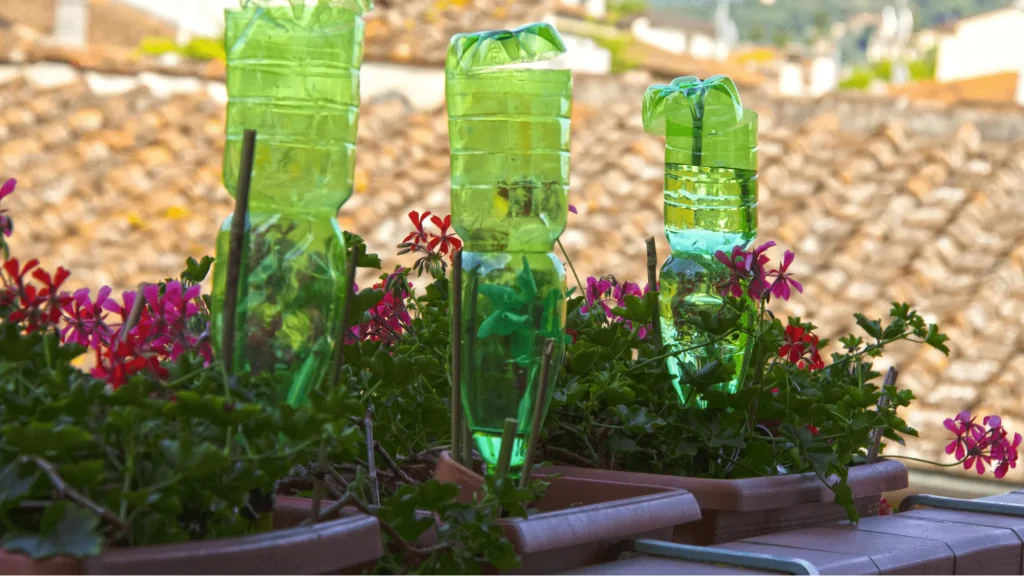
But, using bottle drippers and drip systems can sometimes cause problems. They might flood your plants or get clogged, needing you to clean them regularly. Also, too much water can make the soil too wet, attracting mosquitos and not all plants like this. When the soil is too wet, the roots can’t get the air they need, and this might cause them to rot. To keep your plants healthy, it’s important to water them in a way that doesn’t make the soil too soggy.
To avoid these problems and enable remote monitoring, you can now incorporate a few modern methods into your gardens. Let’s read about that next.
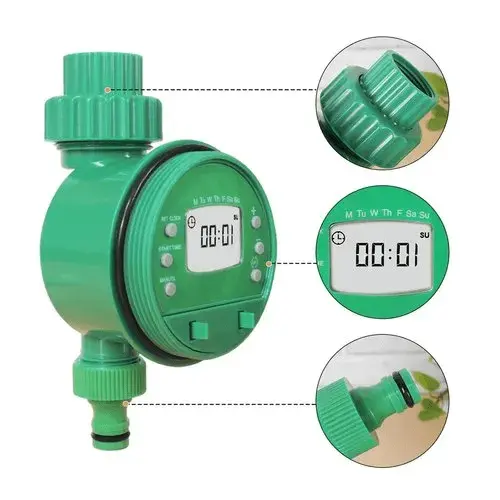
2. Install Timers
I believe you have a schedule for watering your plants, and I can totally relate to feeling anxious if there’s even a slight deviation in timing.
Now, what if I told you that you can still be on time with watering your plants while you’re away? Sounds satisfying, right?
Install timers in your gardens and wait for the magic to reveal itself.
Imagine a tiny box that remembers to water your plants for you. You tell it when and how long to water, and it just does it. This means your plants get their drink exactly when they need it, and you get to relax.
You will get these timers on e-commerce websites like Amazon or Flipkart at less than 2000. Even if you are leaving your apartment for 2 months and have more than 100 plants on your balcony, you don’t have to worry when you have a timer.
How to Set It Up?
We need a mini drip irrigation system for the effective use of timers.
1. Gather Your Supplies
Before you begin, ensure you have the following items:
- A water timer (available on e-commerce websites like Amazon or Flipkart for less than ₹2000)
- A mini drip irrigation kit (also available for less than ₹2000)
- Batteries or an alternative power source for the timer (depending on the model)
- A faucet, hose, or spigot in close proximity to your garden
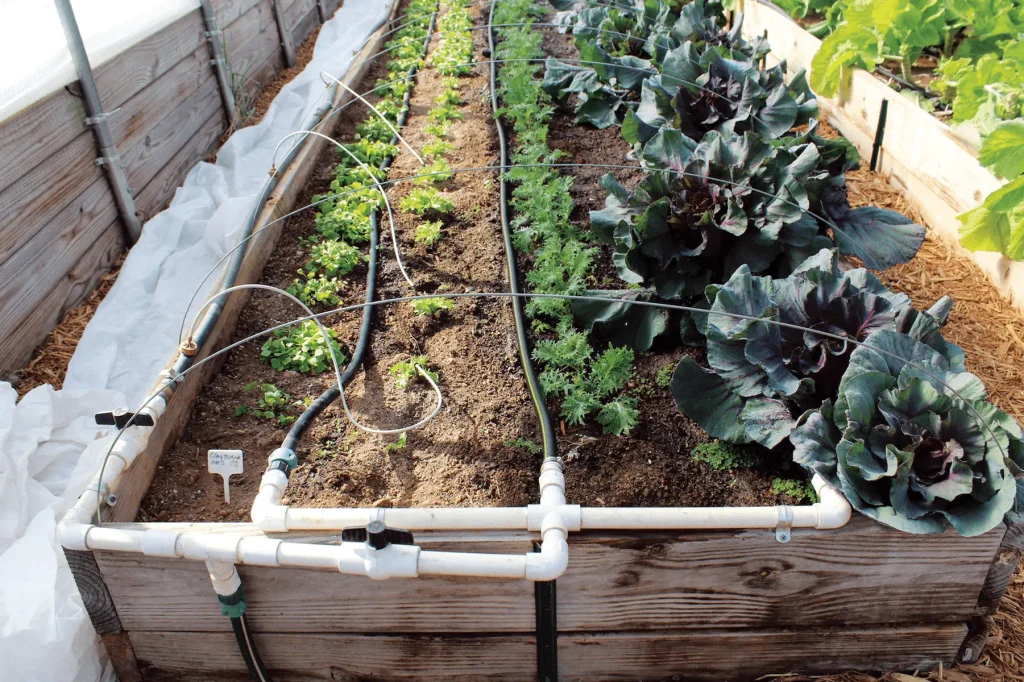
2. Install the Drip Irrigation System
- Lay out the tubing: Start by laying the main tubing along your garden beds or pots, positioning it so it can reach all the plants you want to water.
- Place the drip emitters: Attach a drip emitter for each plant by making a small hole in the main tubing and inserting the emitter. Ensure that each emitter is placed a few inches away from the base of each plant to optimize water delivery.
- Secure the tubing: Use garden stakes or ties to secure the tubing in place and prevent it from moving or getting damaged.
3. Attach the Connectors
- Prepare the water source: Attach the provided connectors to your faucet, hose, or spigot. These connectors will link your water source to the drip irrigation system.
- Connect the system: After attaching the connectors, hook up the main line of your drip irrigation system to the water source. Ensure all connections are tight to prevent leaks.
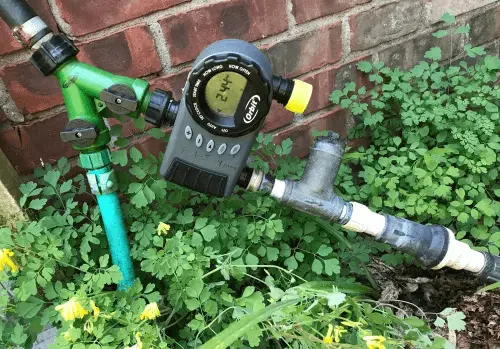
4. Set Up the Timer
- Attach the timer: Connect the timer directly to your faucet, hose, or spigot, ensuring it’s securely in place. Then, connect the main line of your drip irrigation system to the timer.
- Power it up: Install batteries or connect the timer to your chosen power source. Some timers may offer solar power options, which are excellent for outdoor gardens.
- Program the timer: Follow the manufacturer’s instructions to set watering times and durations. Consider the specific needs of your kitchen garden plants when setting the schedule. Most timers will allow you to set multiple watering cycles per day, which is ideal for peak summer months.
How It Works
Set It Up: Hook the timer to your water source, like a tap or hose.
Power It Up: Use batteries, solar power, or plug it in.
Program It: Use the buttons to choose your watering times and how long.
Let It Run: Test to make sure it’s working right. Adjust if you need to.
And that’s it! With a drip irrigation timer, your garden stays happy, and you get more time to enjoy the beauty of your hard work.
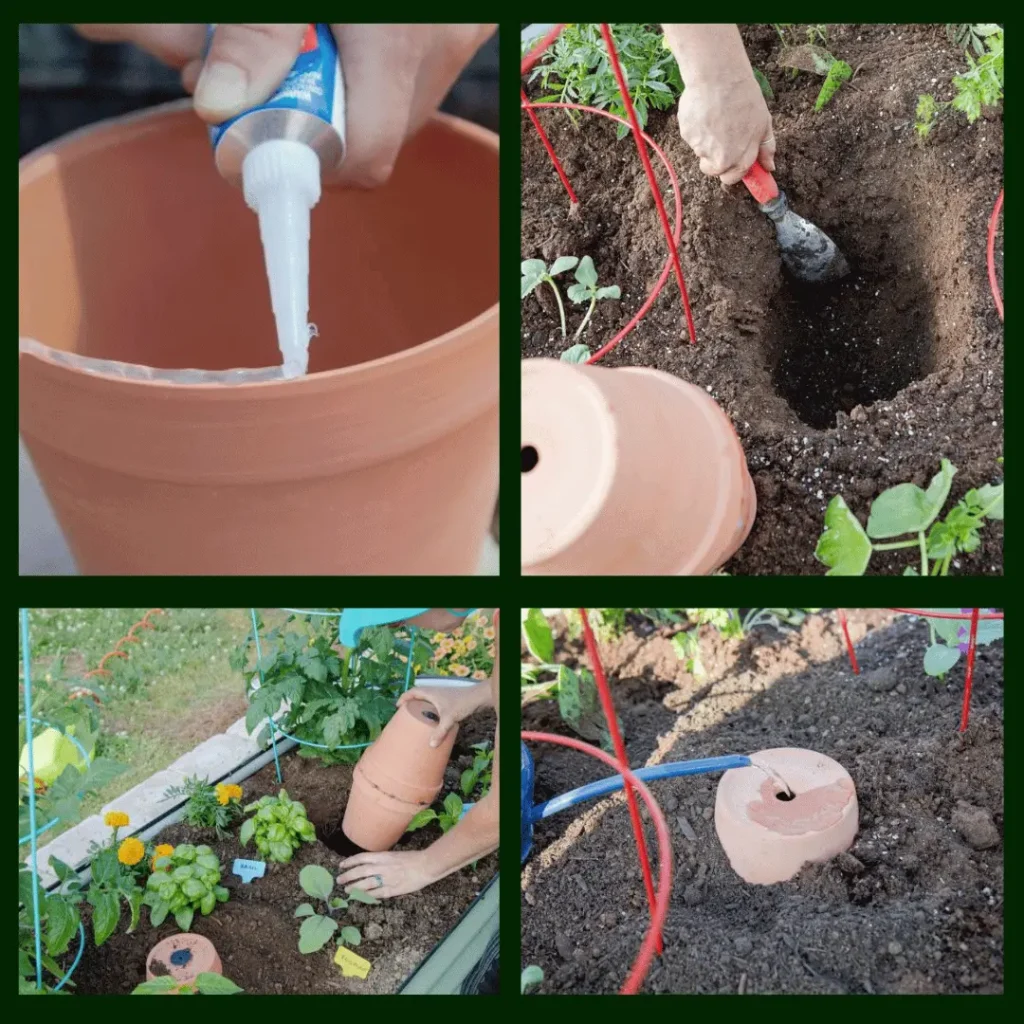
3. Olla Pots: An Age-Old DIY to Water Plants
I understand that setting up a timer and ensuring it works can sometimes seem a bit complex. To make your gardening journey much easier, you can now use olla pots.
Olla pots are essentially clay pots that you bury in the soil at the same level as a plant’s roots, and you have to fill them with water.
Installation
Bury the olla such that 1-2 inches stick out above ground to keep dirt and mulch out. Pack the soil around it tightly because water and roots won’t go into air pockets.
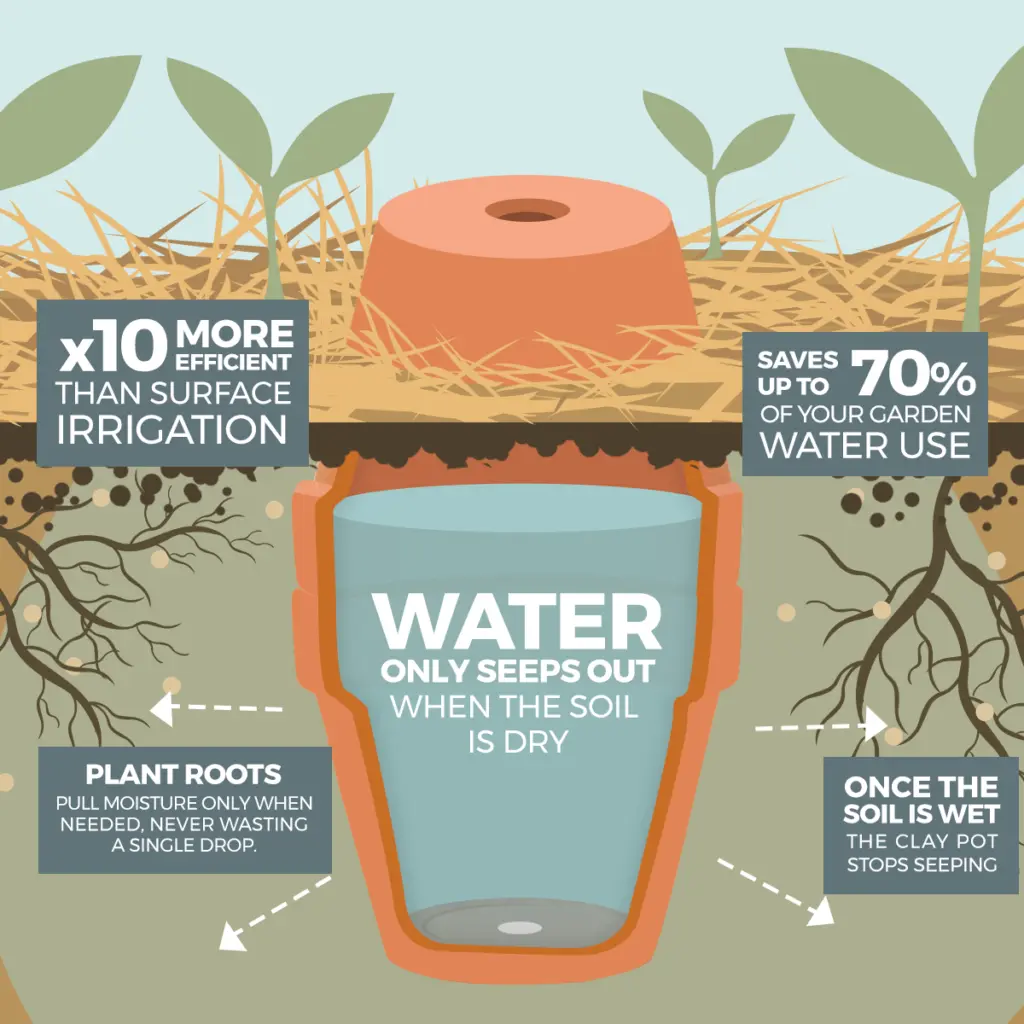
So how does this work?
These pots are porous that let water seep out slowly, but only when the plants need it. If the soil around the pot is dry, it pulls water from the pot to help the plants. But if there is enough moisture and the soil is wet, the water stays inside the pot. But, make sure you’ve closed the lid to minimize evaporation and prevent mosquito breeding.
This method is great because it saves water. It stops water from evaporating into the air or running off where it’s not needed. So, using ollas means your plants get exactly the right amount of water, without wasting any.
In wrapping up, keeping your garden flourishing while you’re away doesn’t have to be a source of worry anymore. With smart, modern solutions like drip irrigation timers and the age-old wisdom of olla pots, you can ensure your plants receive the right amount of care and water, exactly when they need it. Whether you’re a tech enthusiast ready to set up a timer or someone who appreciates the simplicity of using olla pots, there’s an option out there for every type of garden parent.
So, go ahead, plan that vacation or that business trip without a second thought about your leafy friends. They’ve got everything they need to stay happy and hydrated until you return. Happy gardening!